Set Constant Speed.
Even out the speed between two keyframes.
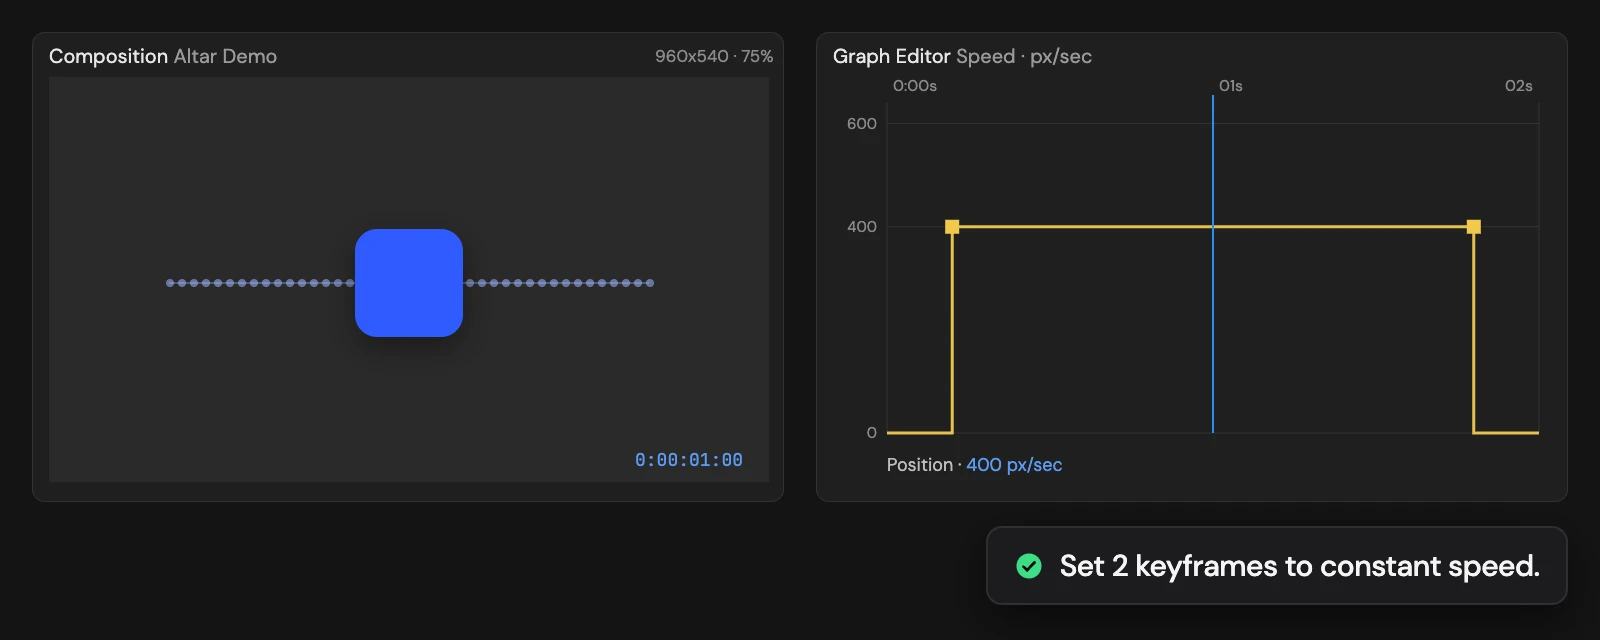
What it does
Makes the motion between two adjacent selected keyframes travel at one even speed, on every selected property at once. Key times, values and the motion path stay as they are, and so does the ease influence on the outer side of each key (a Linear outer side becomes a default 33.33% ease). Select exactly two adjacent keyframes on each property.
Controls
- Click: Set selected keyframes to constant speed
Details
- Category: Keyframe Tools
- Kind: Script
- Also searched as: easing, ease, keyframe, speed, constant, linear, velocity, animation
Guide
Use it
Select exactly two neighbouring keyframes on each property you want to fix, then click Set Constant Speed. You can do several properties, on several layers, in one click.
Between the two keyframes the value now travels at one steady speed: a flat line in the speed graph. Curved Position paths keep their shape, and the layer moves along them evenly.
What changes
- Key times and values stay where they are.
- The ease on the outer side of each key (into the first key, out of the second) keeps its influence. Its speed changes to match the new steady speed, so the motion just before and after the pair can change a little. An outer side that was Linear becomes Bezier with the default 33.33% influence.
- The inner side of each key gets After Effects’ default influence of 33.33%.
Selection
Every property with selected keyframes needs exactly two, with no unselected keyframe between them. If any property breaks that rule, nothing changes and Altar tells you why. Select a pair in the middle of a longer animation to fix just that stretch. One Undo restores the previous easing.