Find and add an asset.
Browse your Vault, search and filter it, and import an asset into the comp you are working in.
By the end of this page an asset from your library is sitting in your active comp.
Screenshot pending: the After Effects timeline with the imported comp layer selected, next to the Altar Vault panel showing the success message.
Before you start
- Save your After Effects project. Import copies the asset’s files into a folder beside your project, so an unsaved project has nowhere to put them.
- Open a comp and make it active. Import adds the asset to the active comp.
- For a preset, select the layer it should go on first.
- Have at least one asset in a library. If Browse is empty, start with Save something for reuse.
Add an asset
- Open Browse
Click Browse in the rail. Cards load for every library you have turned on. Previews load for the cards on screen first, so a long library fills in as you scroll.
- Find the asset
Type in Search assets. Search matches the name, tags, library and category, and orders results by relevance. To narrow instead, use the category menu, the tag picker or the heart button for favourites only. Hover a card to scrub its preview clip.
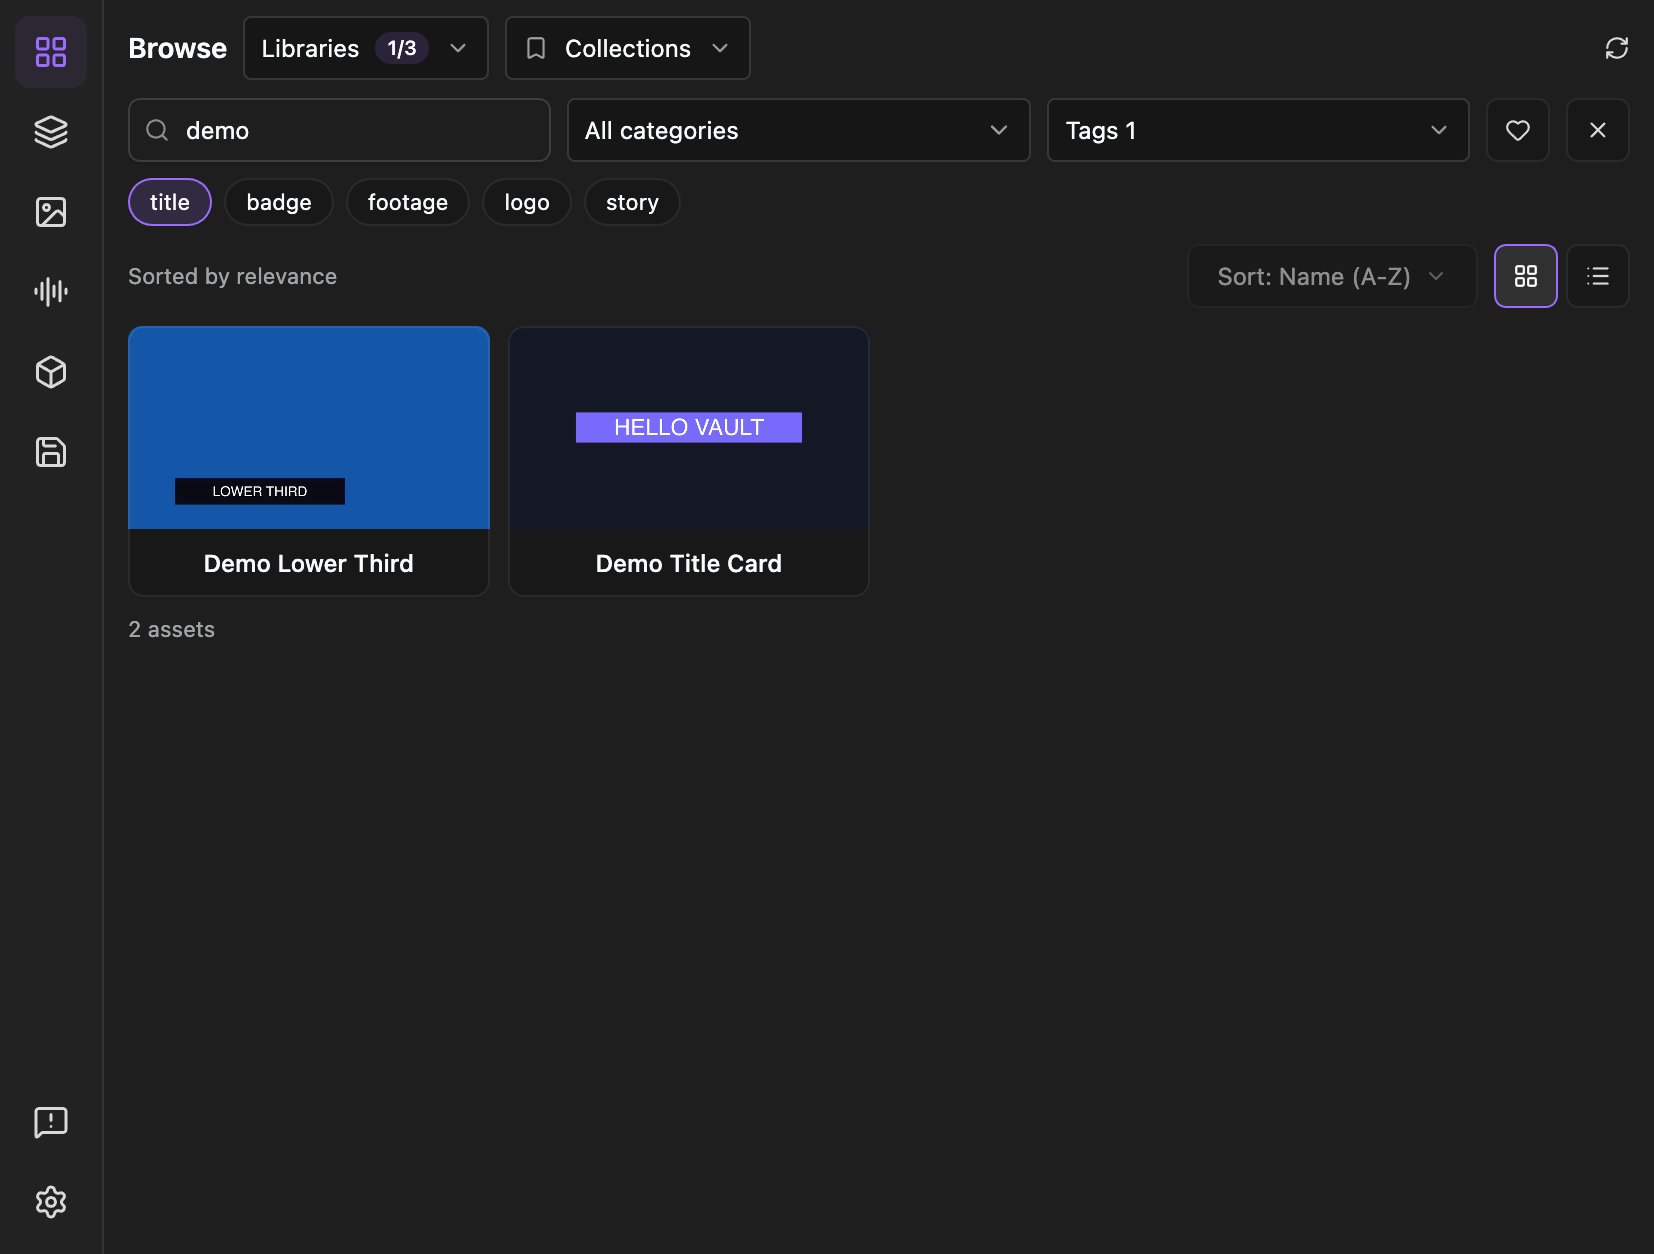
Search, category, tags, favourites, sort and the grid and list toggle. - Select the card
Click a card once. An Import button and a small menu arrow appear over the preview.
- Click Import
Altar checks the asset can import on this machine (templates only, see below), copies its files into your project folder, then adds it to the comp. A message confirms the name and where it went.
- Check the comp
Look at the timeline. Import is one undo step in After Effects, so Cmd/Ctrl+Z takes it back.
What Import does for each type
| Asset | What lands in your project |
| --- | --- |
| Comp (.aep) | The saved comp, its nested comps and its footage arrive in the Project panel, and the main comp is added as a layer in your active comp. |
| Preset (.ffx) | The preset is applied to the first selected layer. Select a layer first, or Import tells you to. |
| Footage (video, audio, image, SVG, 3D) | The file is imported and added as a new layer in the active comp. |
Files are placed in an Altar folder beside your saved project. An existing file
is never overwritten. If a folder with that name already holds different files,
Altar uses a numbered folder instead, and reuses a folder only when the files
inside are identical. More in
Storage and packaging limits.
The requirements check
Before a comp imports, Altar checks that this machine has the fonts and effects it needs and that your After Effects is not older than the one it was saved in.
- Everything present - it imports straight away.
- Missing fonts or effects - a dialog lists them. Copy list copies the names. Install them and import again, or choose Import anyway and replace fonts afterwards.
- After Effects too old - the dialog says which version it needs and offers Copy list and Close only. Open it in the newer version, or re-save it from one with File → Save As → Save a Copy As.
- Could not check - listed under “Could not check”. Import goes ahead on your say-so.
A small warning badge on a card (a number, or “AE”) means the last check found something missing. It reflects the state when the library loaded, so Refresh after installing a font.
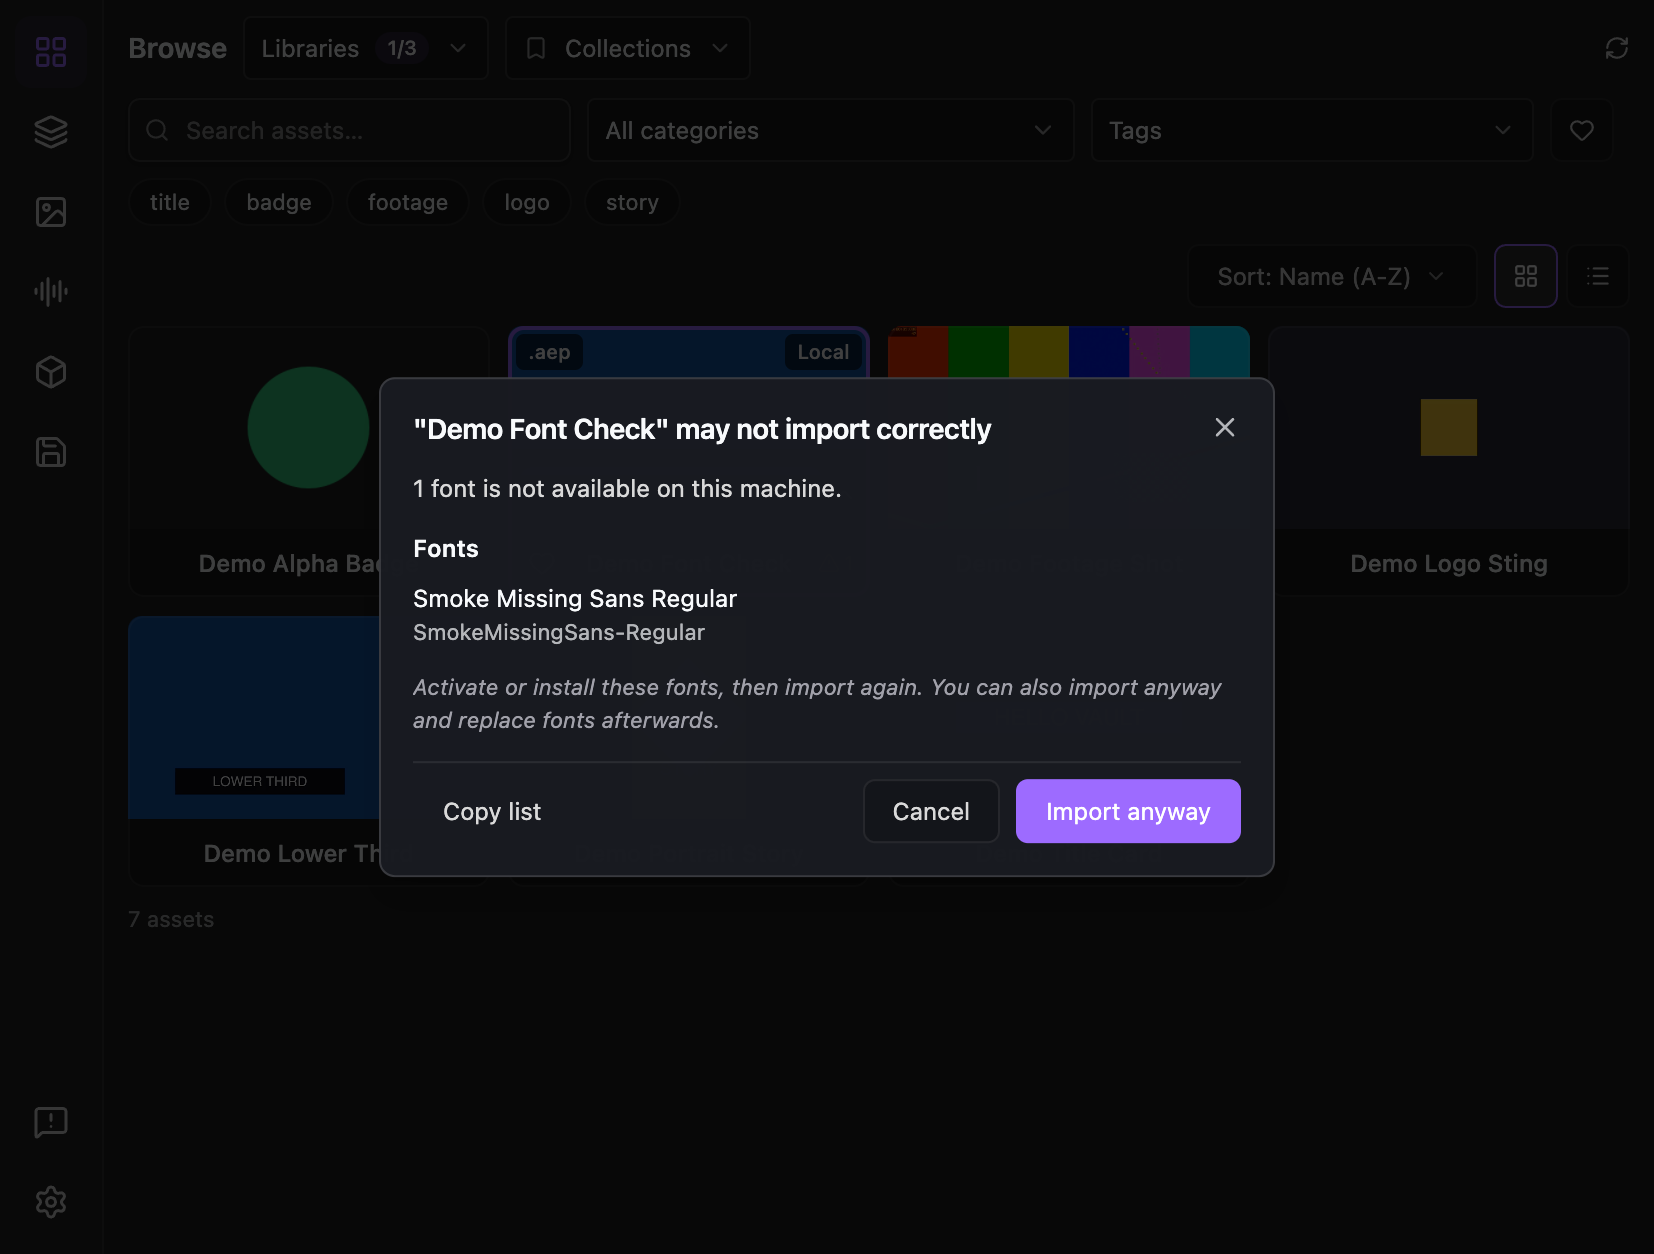
Assets saved before this check existed carry no record of what they need. They import with a note saying their requirements are unknown.
Where Altar puts it
Import targets the active comp. Not the selected comp in the Project panel, and not a comp you looked at a minute ago. If you have a layer selected, it does not matter for comps and footage: they are added on top. Presets are the exception and go on the first selected layer.